Your cart is currently empty!

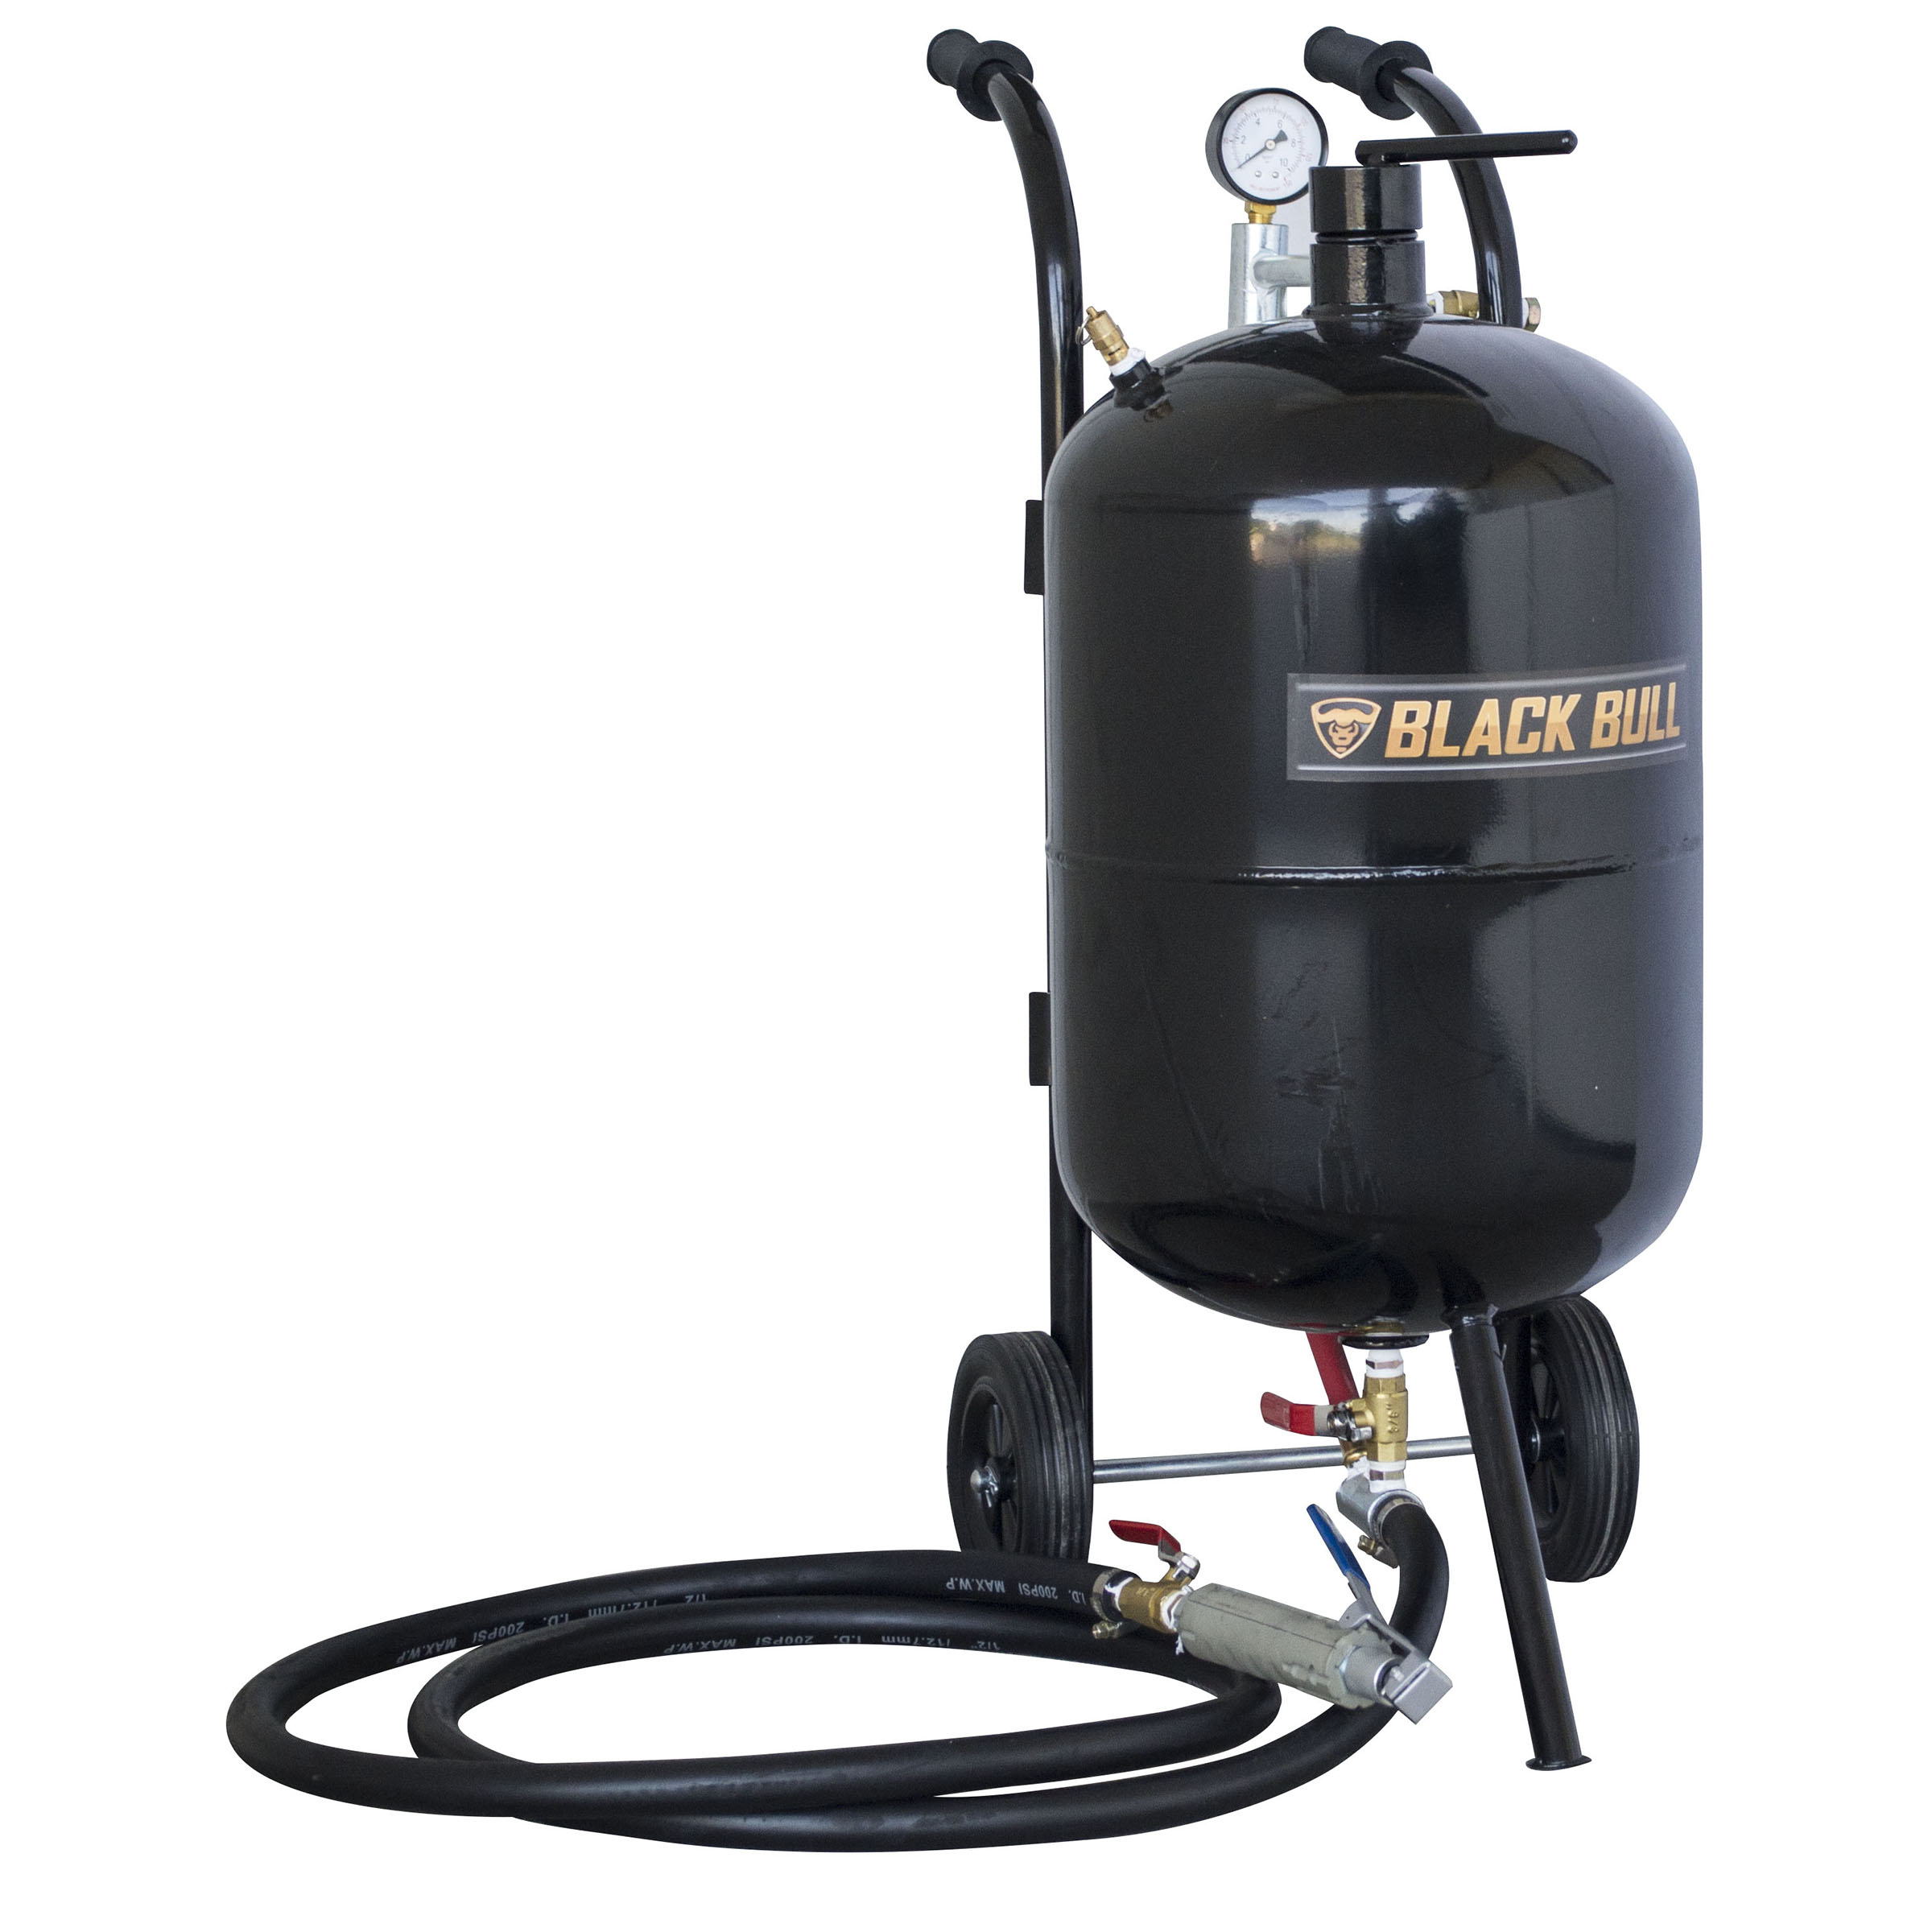

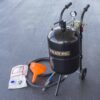
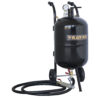
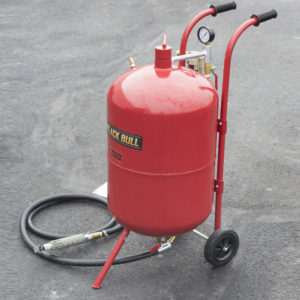
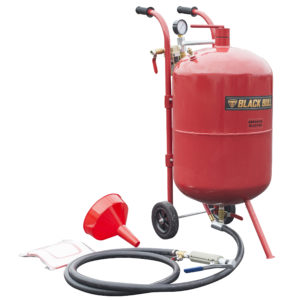
50 Lbs Tank Abrasive Blaster – Black Bull
$203.99
- Easily remove paint, rust and oxidation
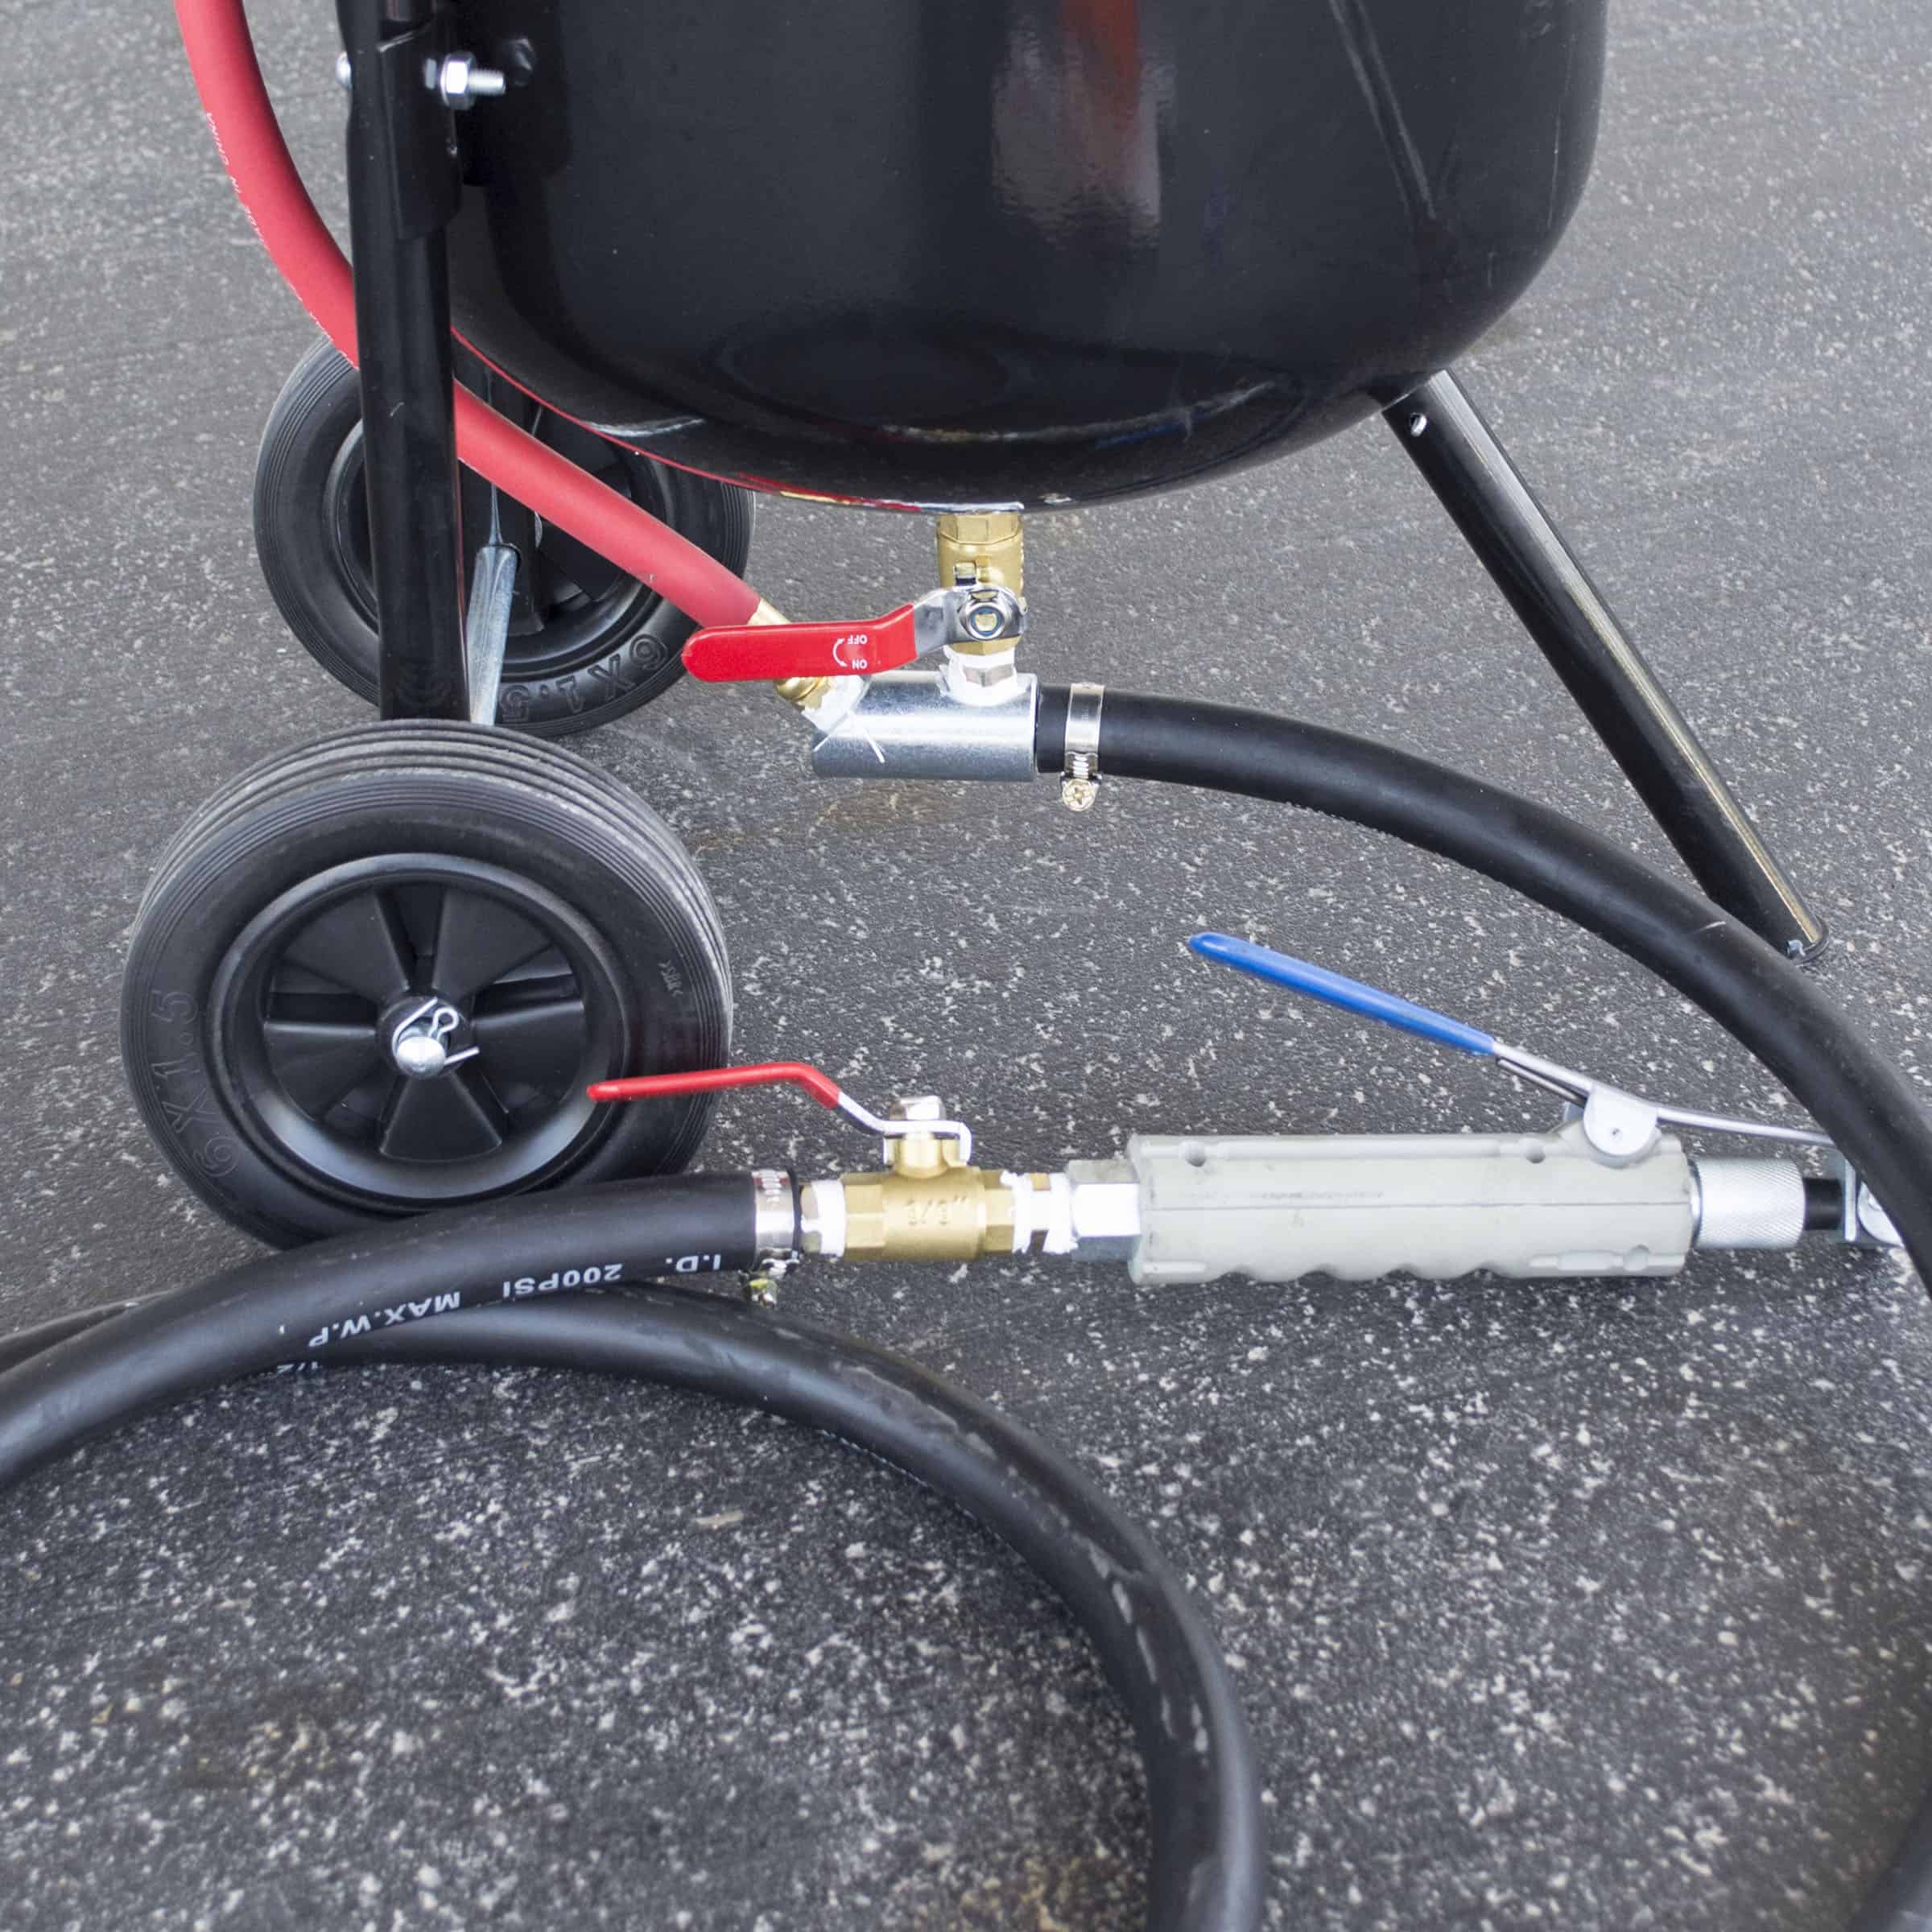
- 50 lbs tank with shut-off valve
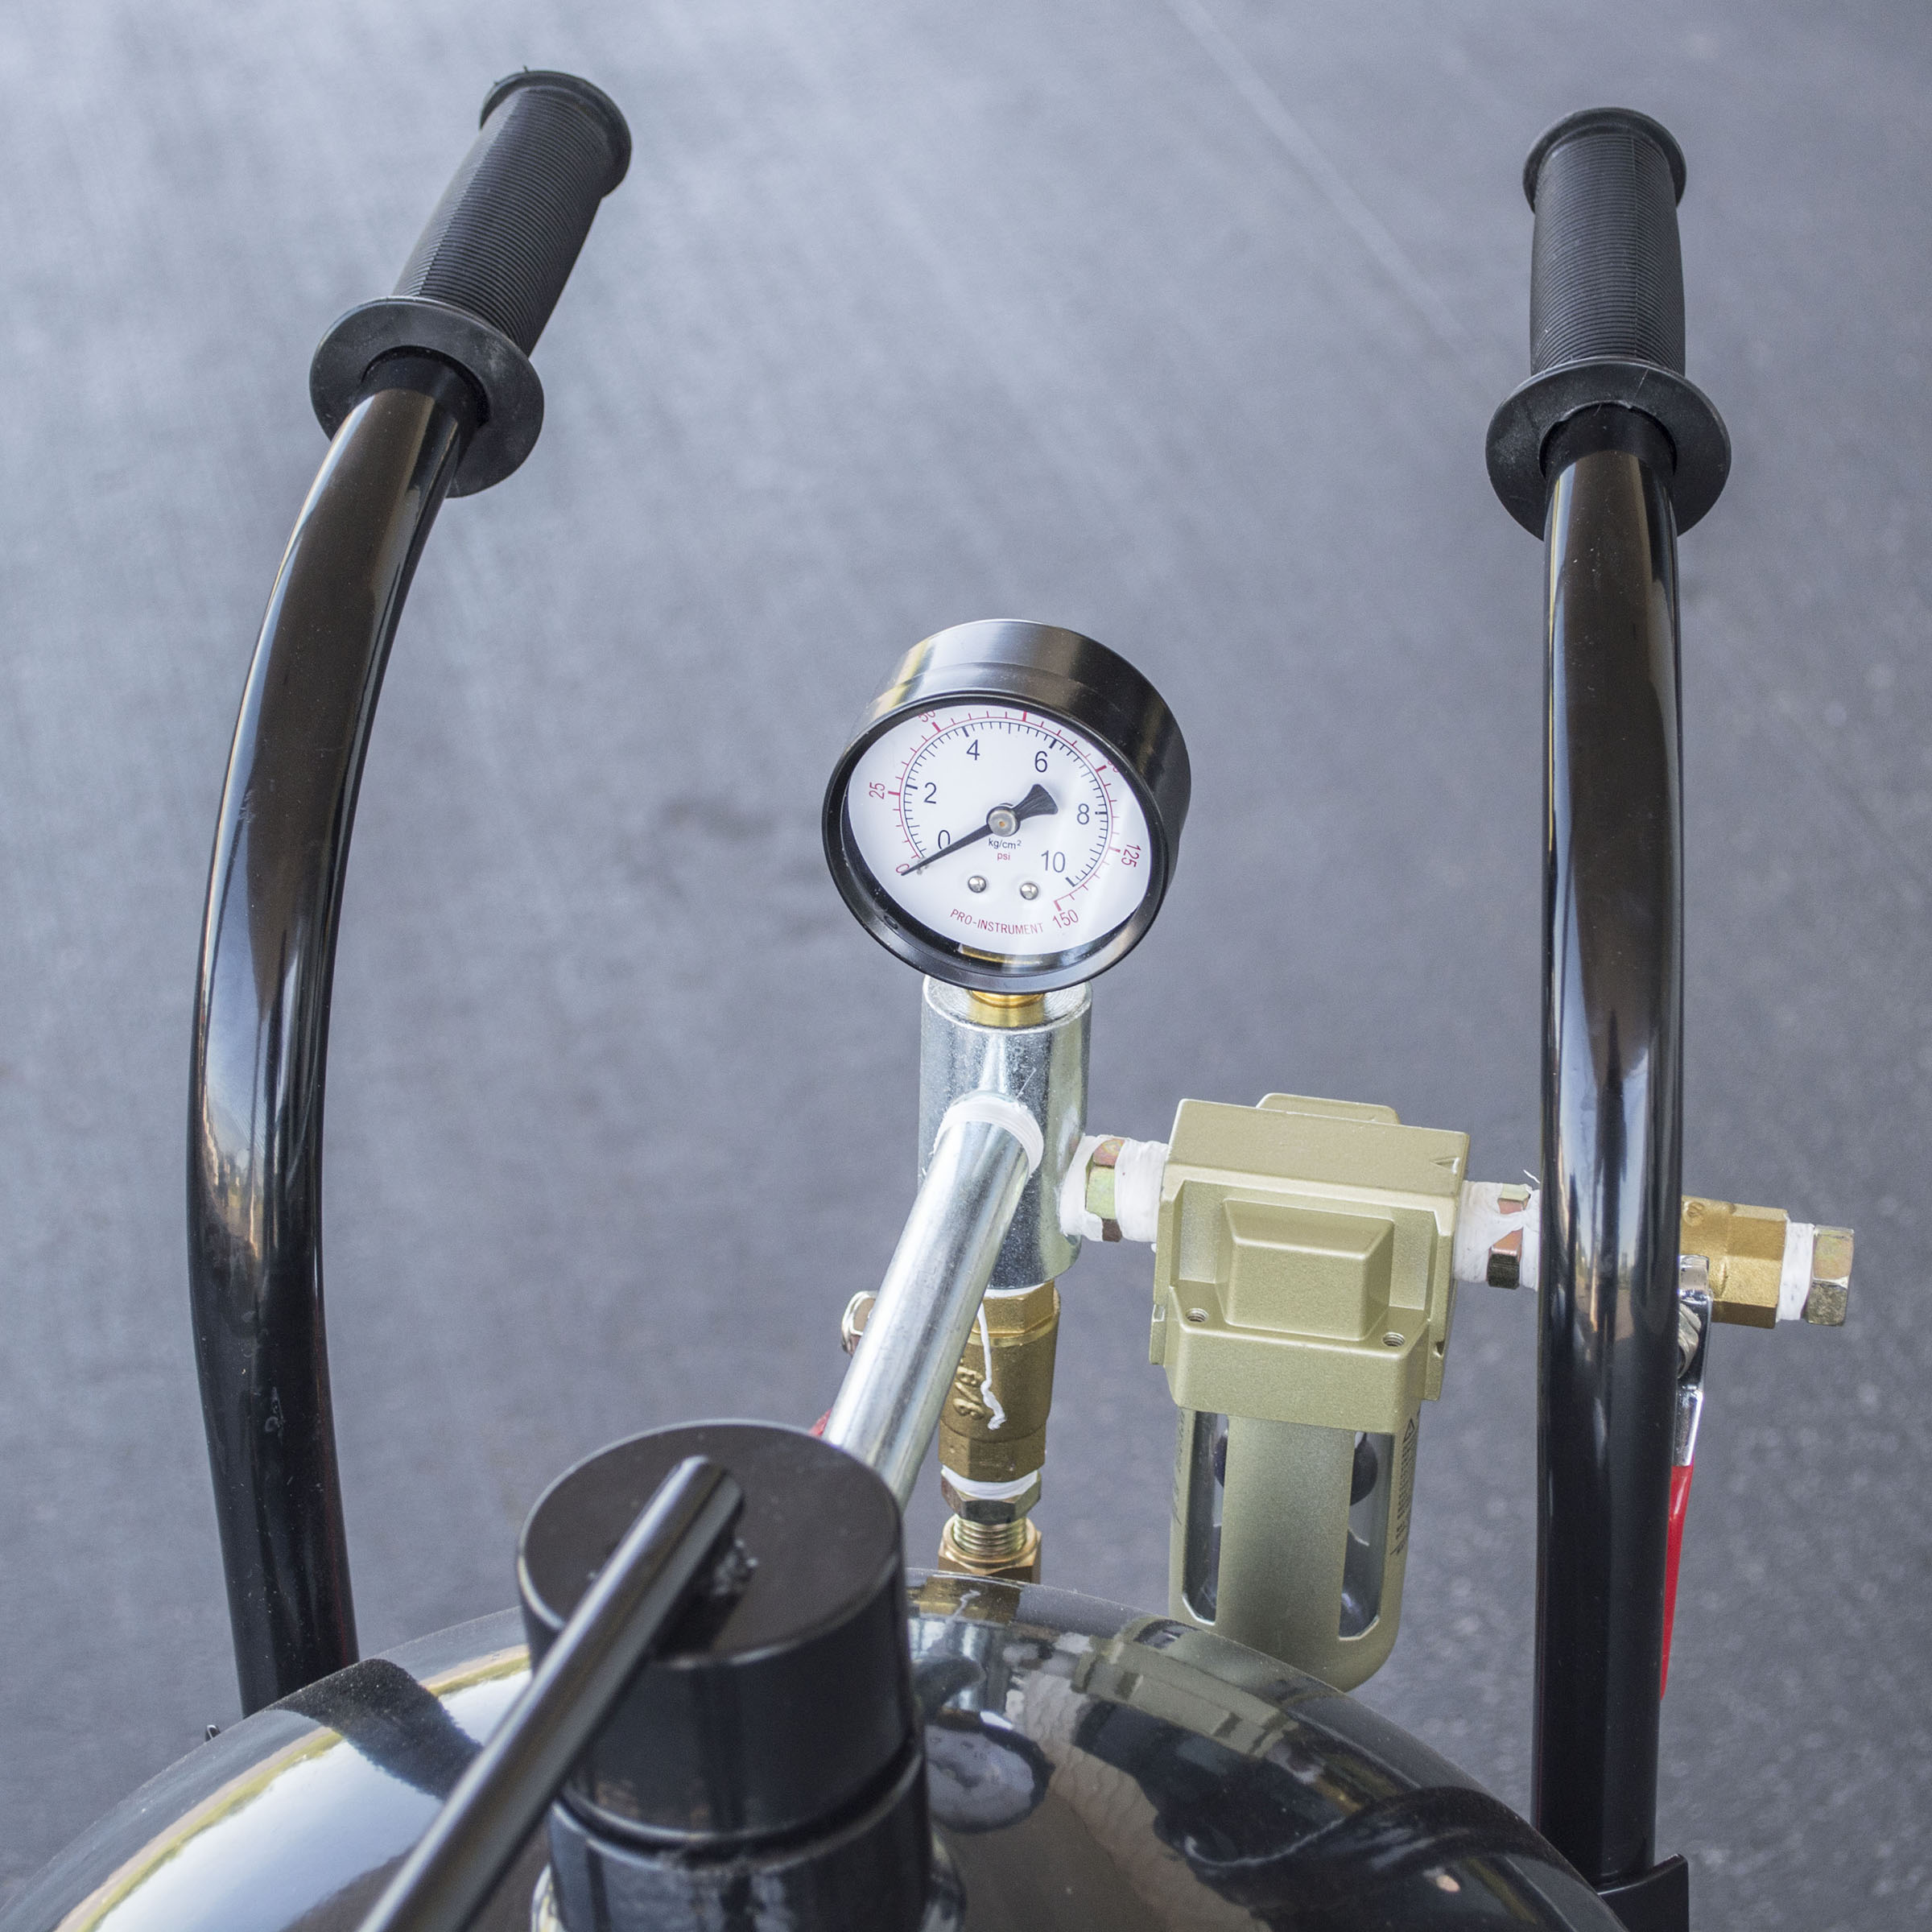
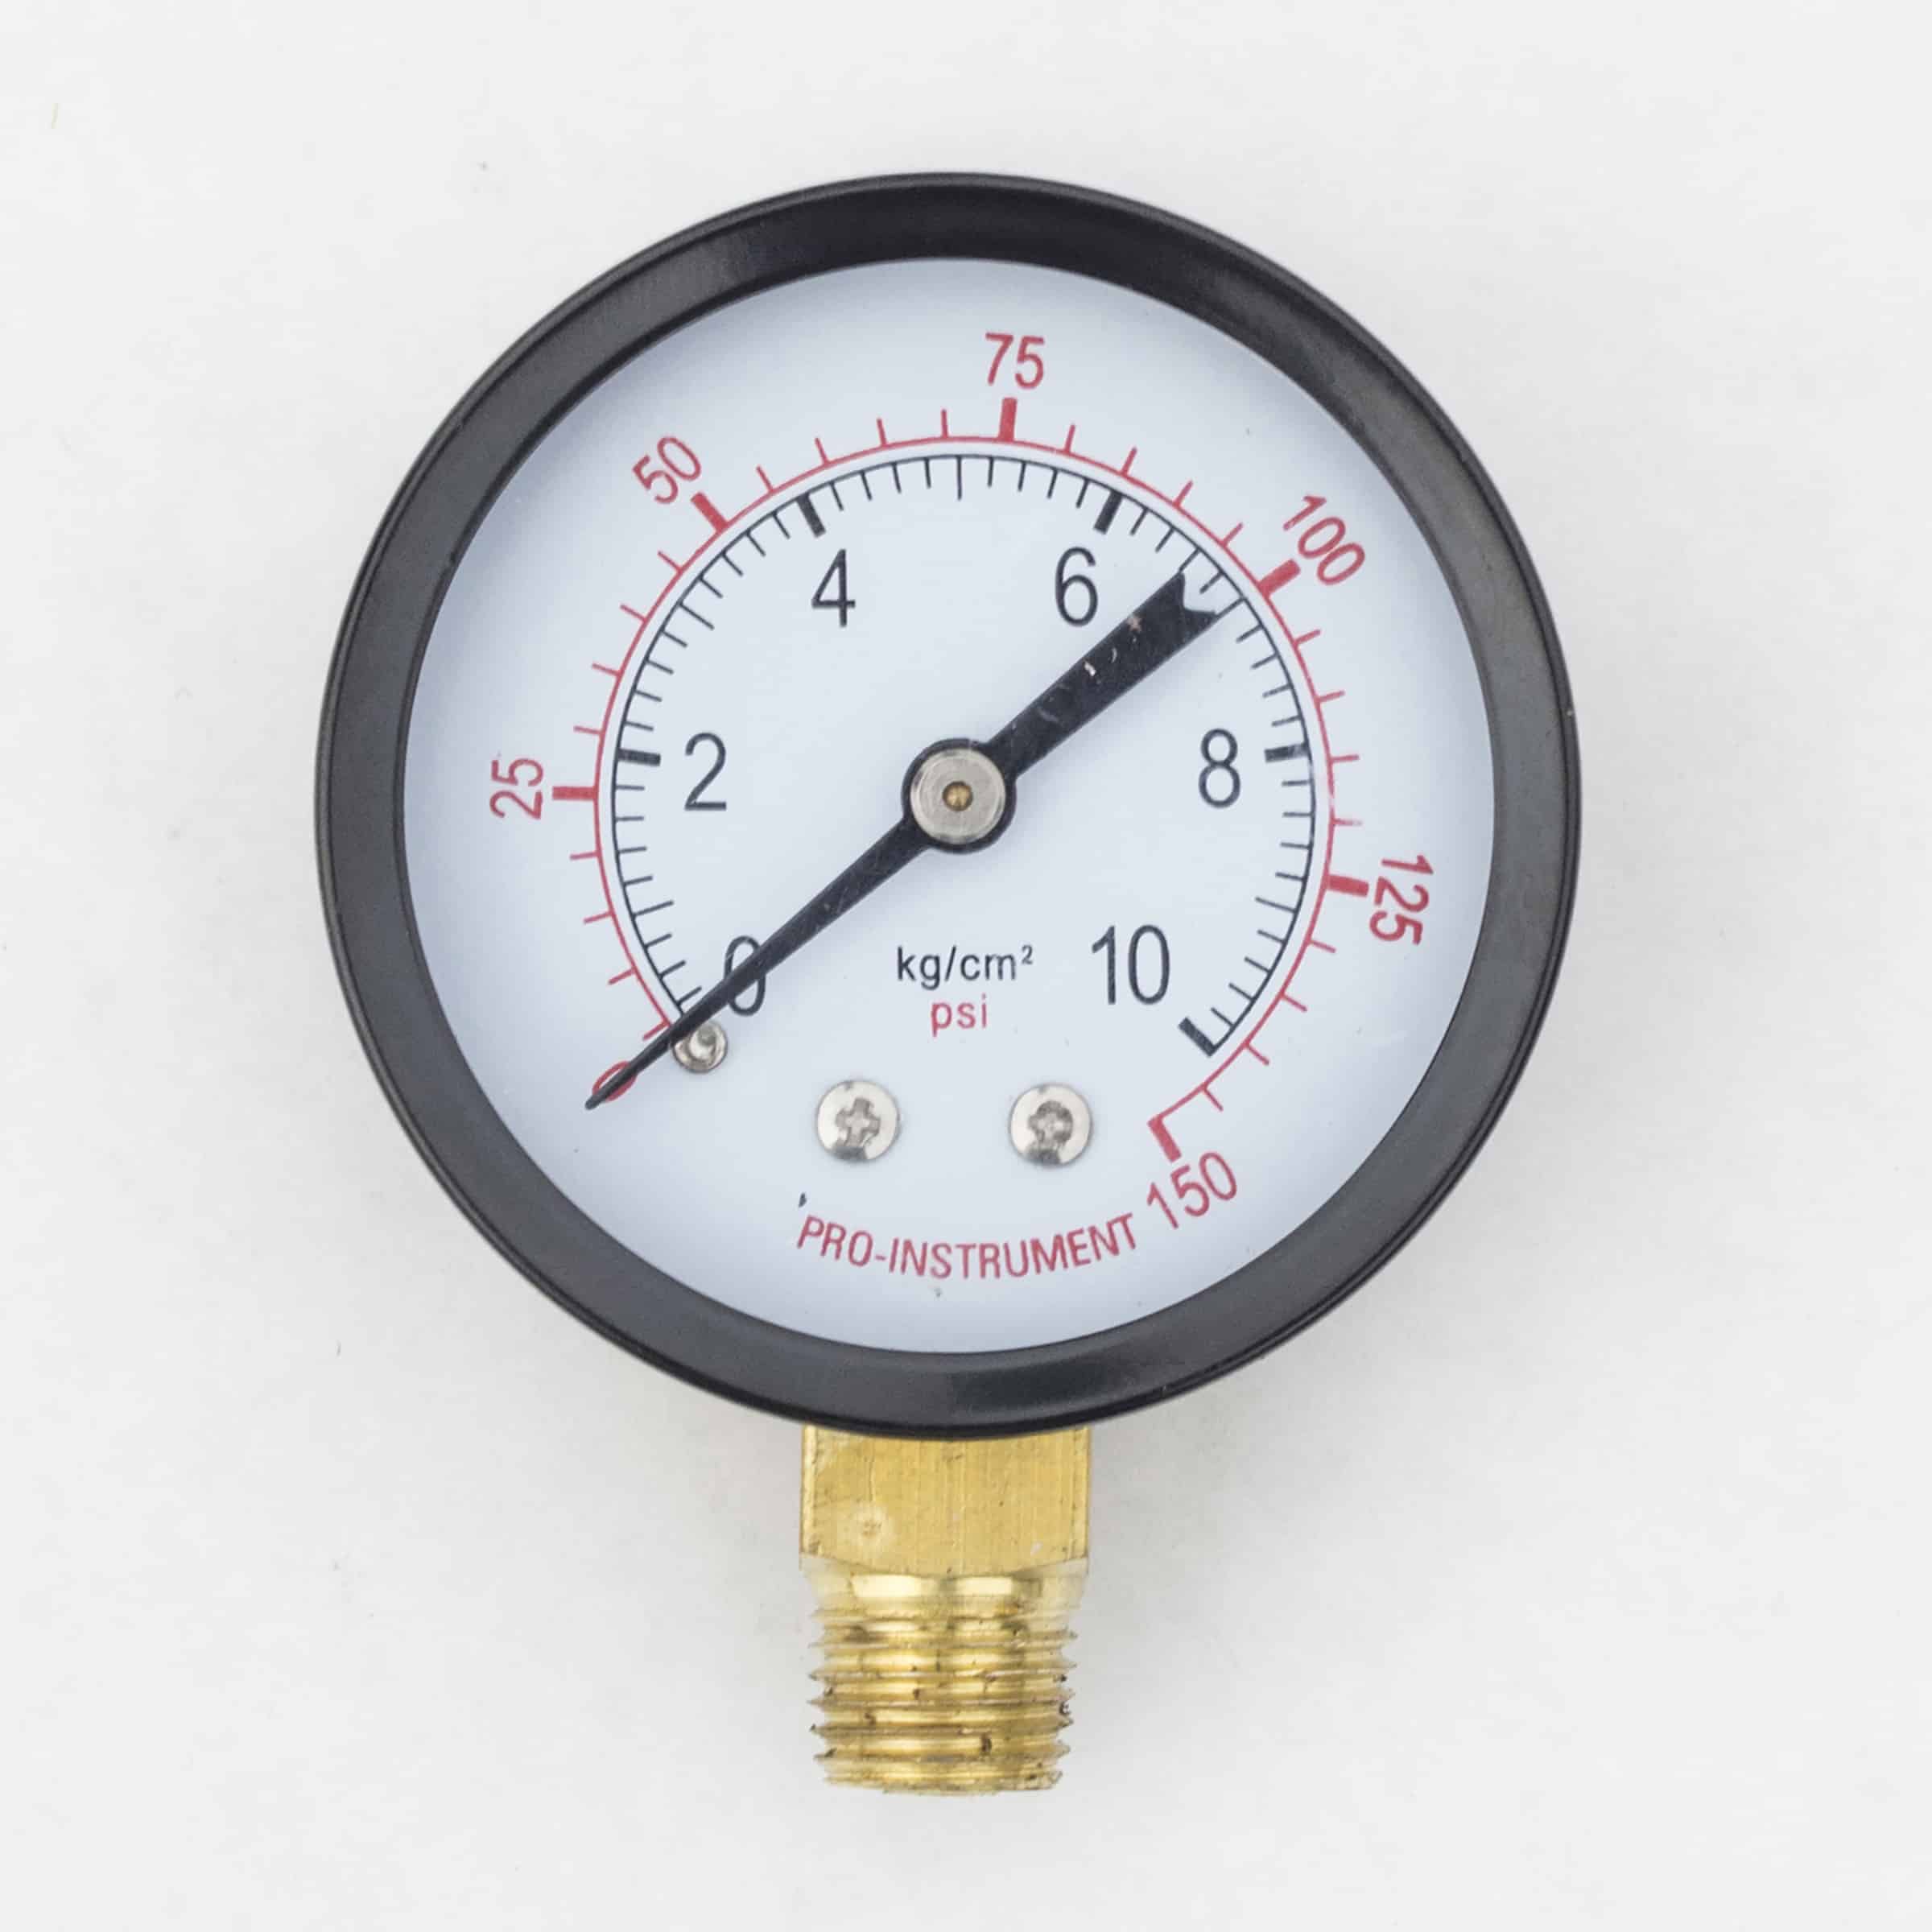
- 65 to 125 psi, 6 to 25 CFM
- Moves 80-90 percent of air speed
- 6 in. rubber wheels
- Overall size: 13.8 in L x 16.5 in. W x 33.5 in. H
40 in stock
-
Description
I remove oxidation, paint and rust with the Black Bull 50 lbs Abrasive Blaster. In fact, I use this steel sandblaster on a diverse amount of surfaces to be cleaned. Because it is designed for contractors and serious do-it-yourselfers, I rely on its durable construction. Finally, I use this steel sandblaster to provide an easy way for me to clean a variety of different surfaces. As a result, I will use it for metal, wood, brick or concrete surfaces.
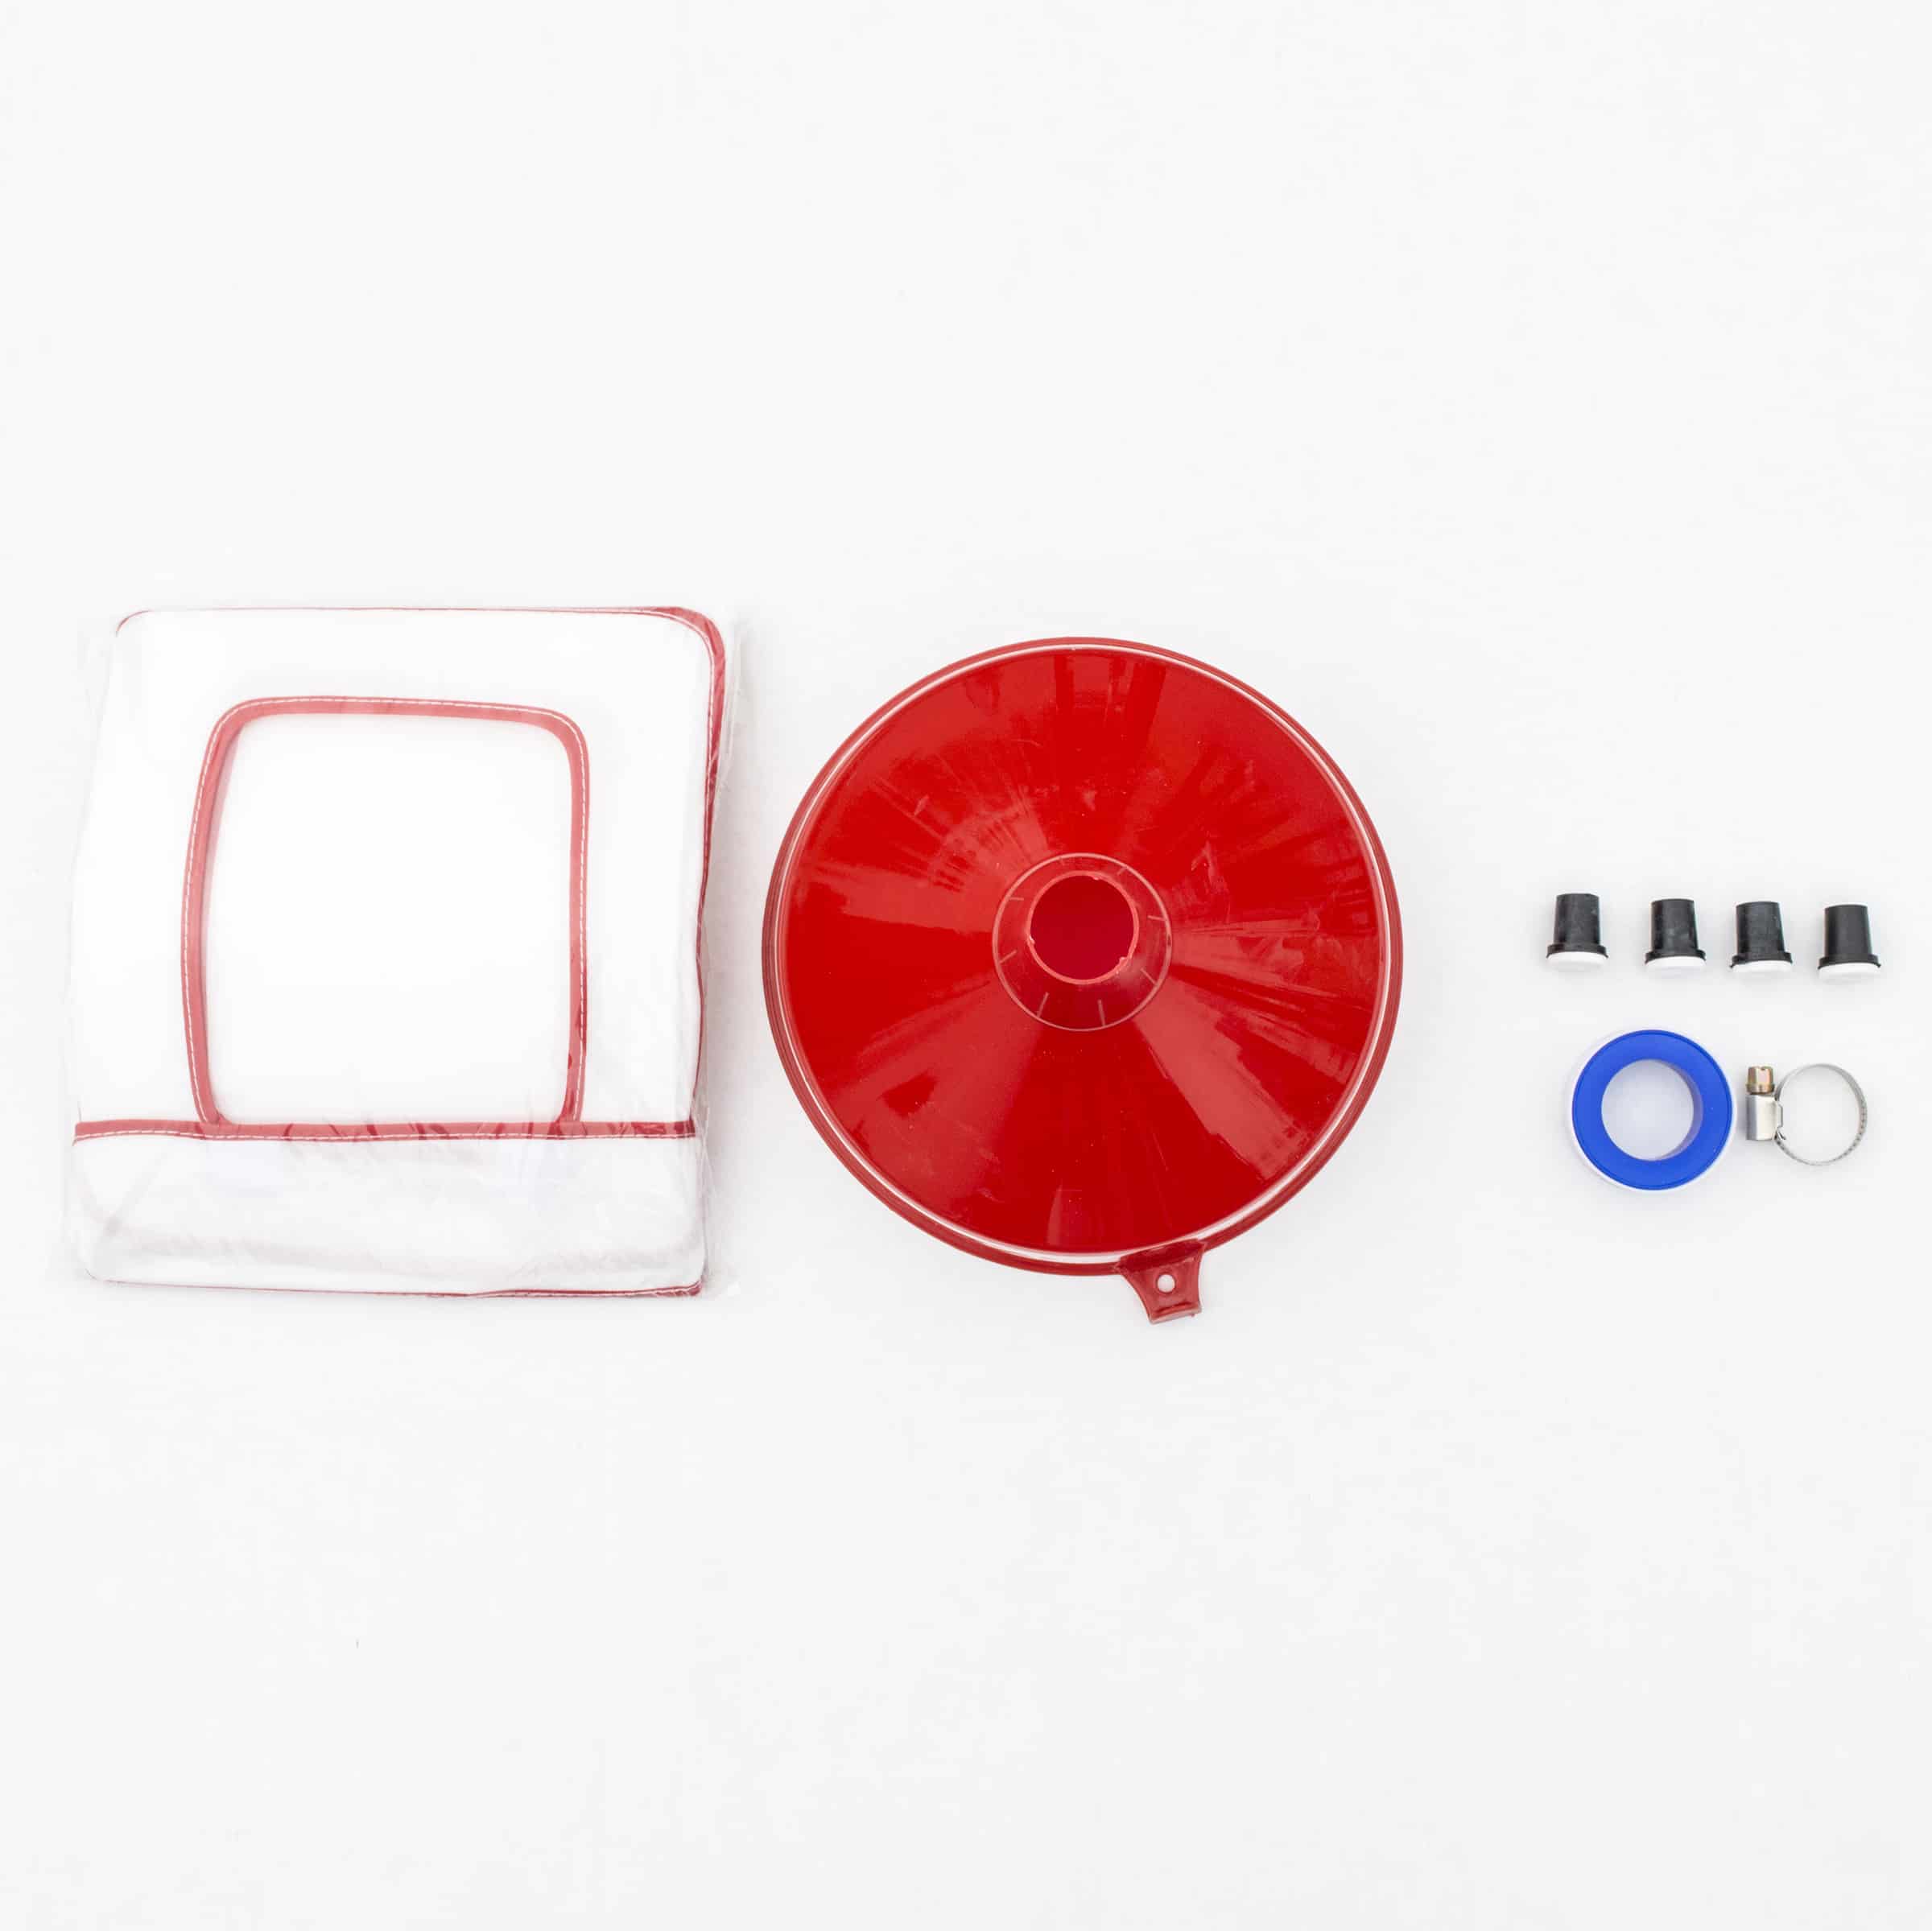
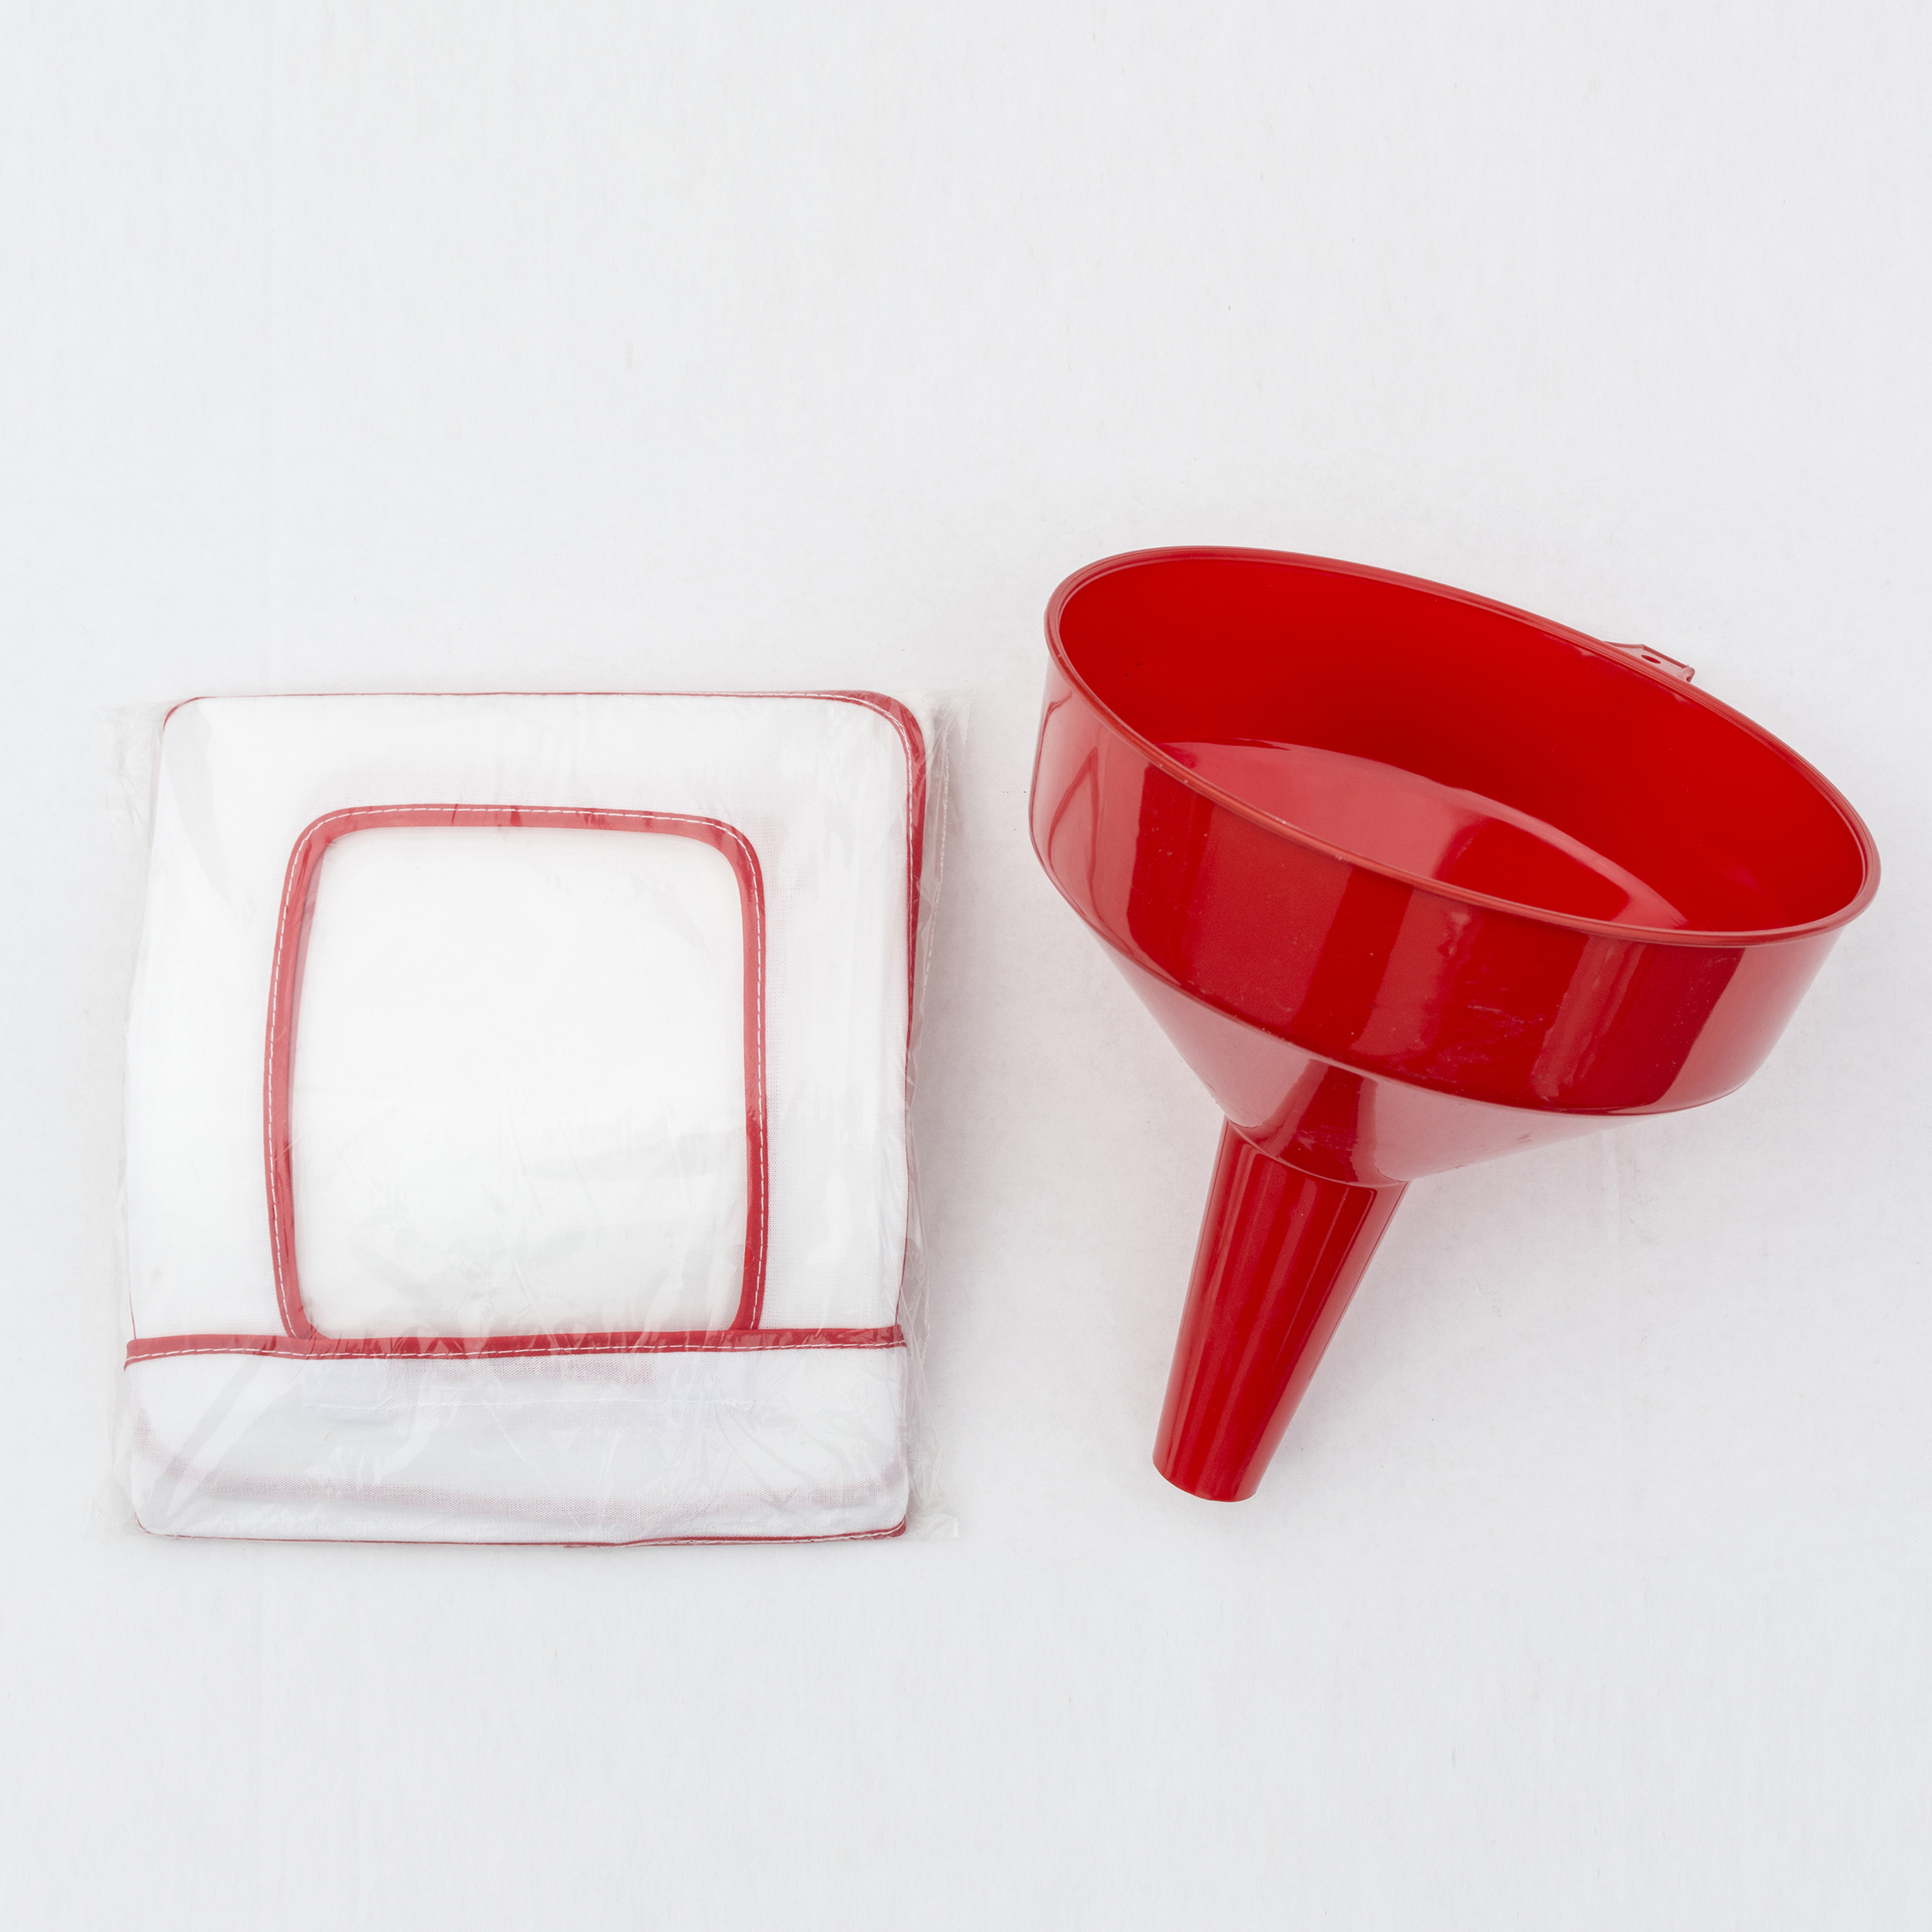
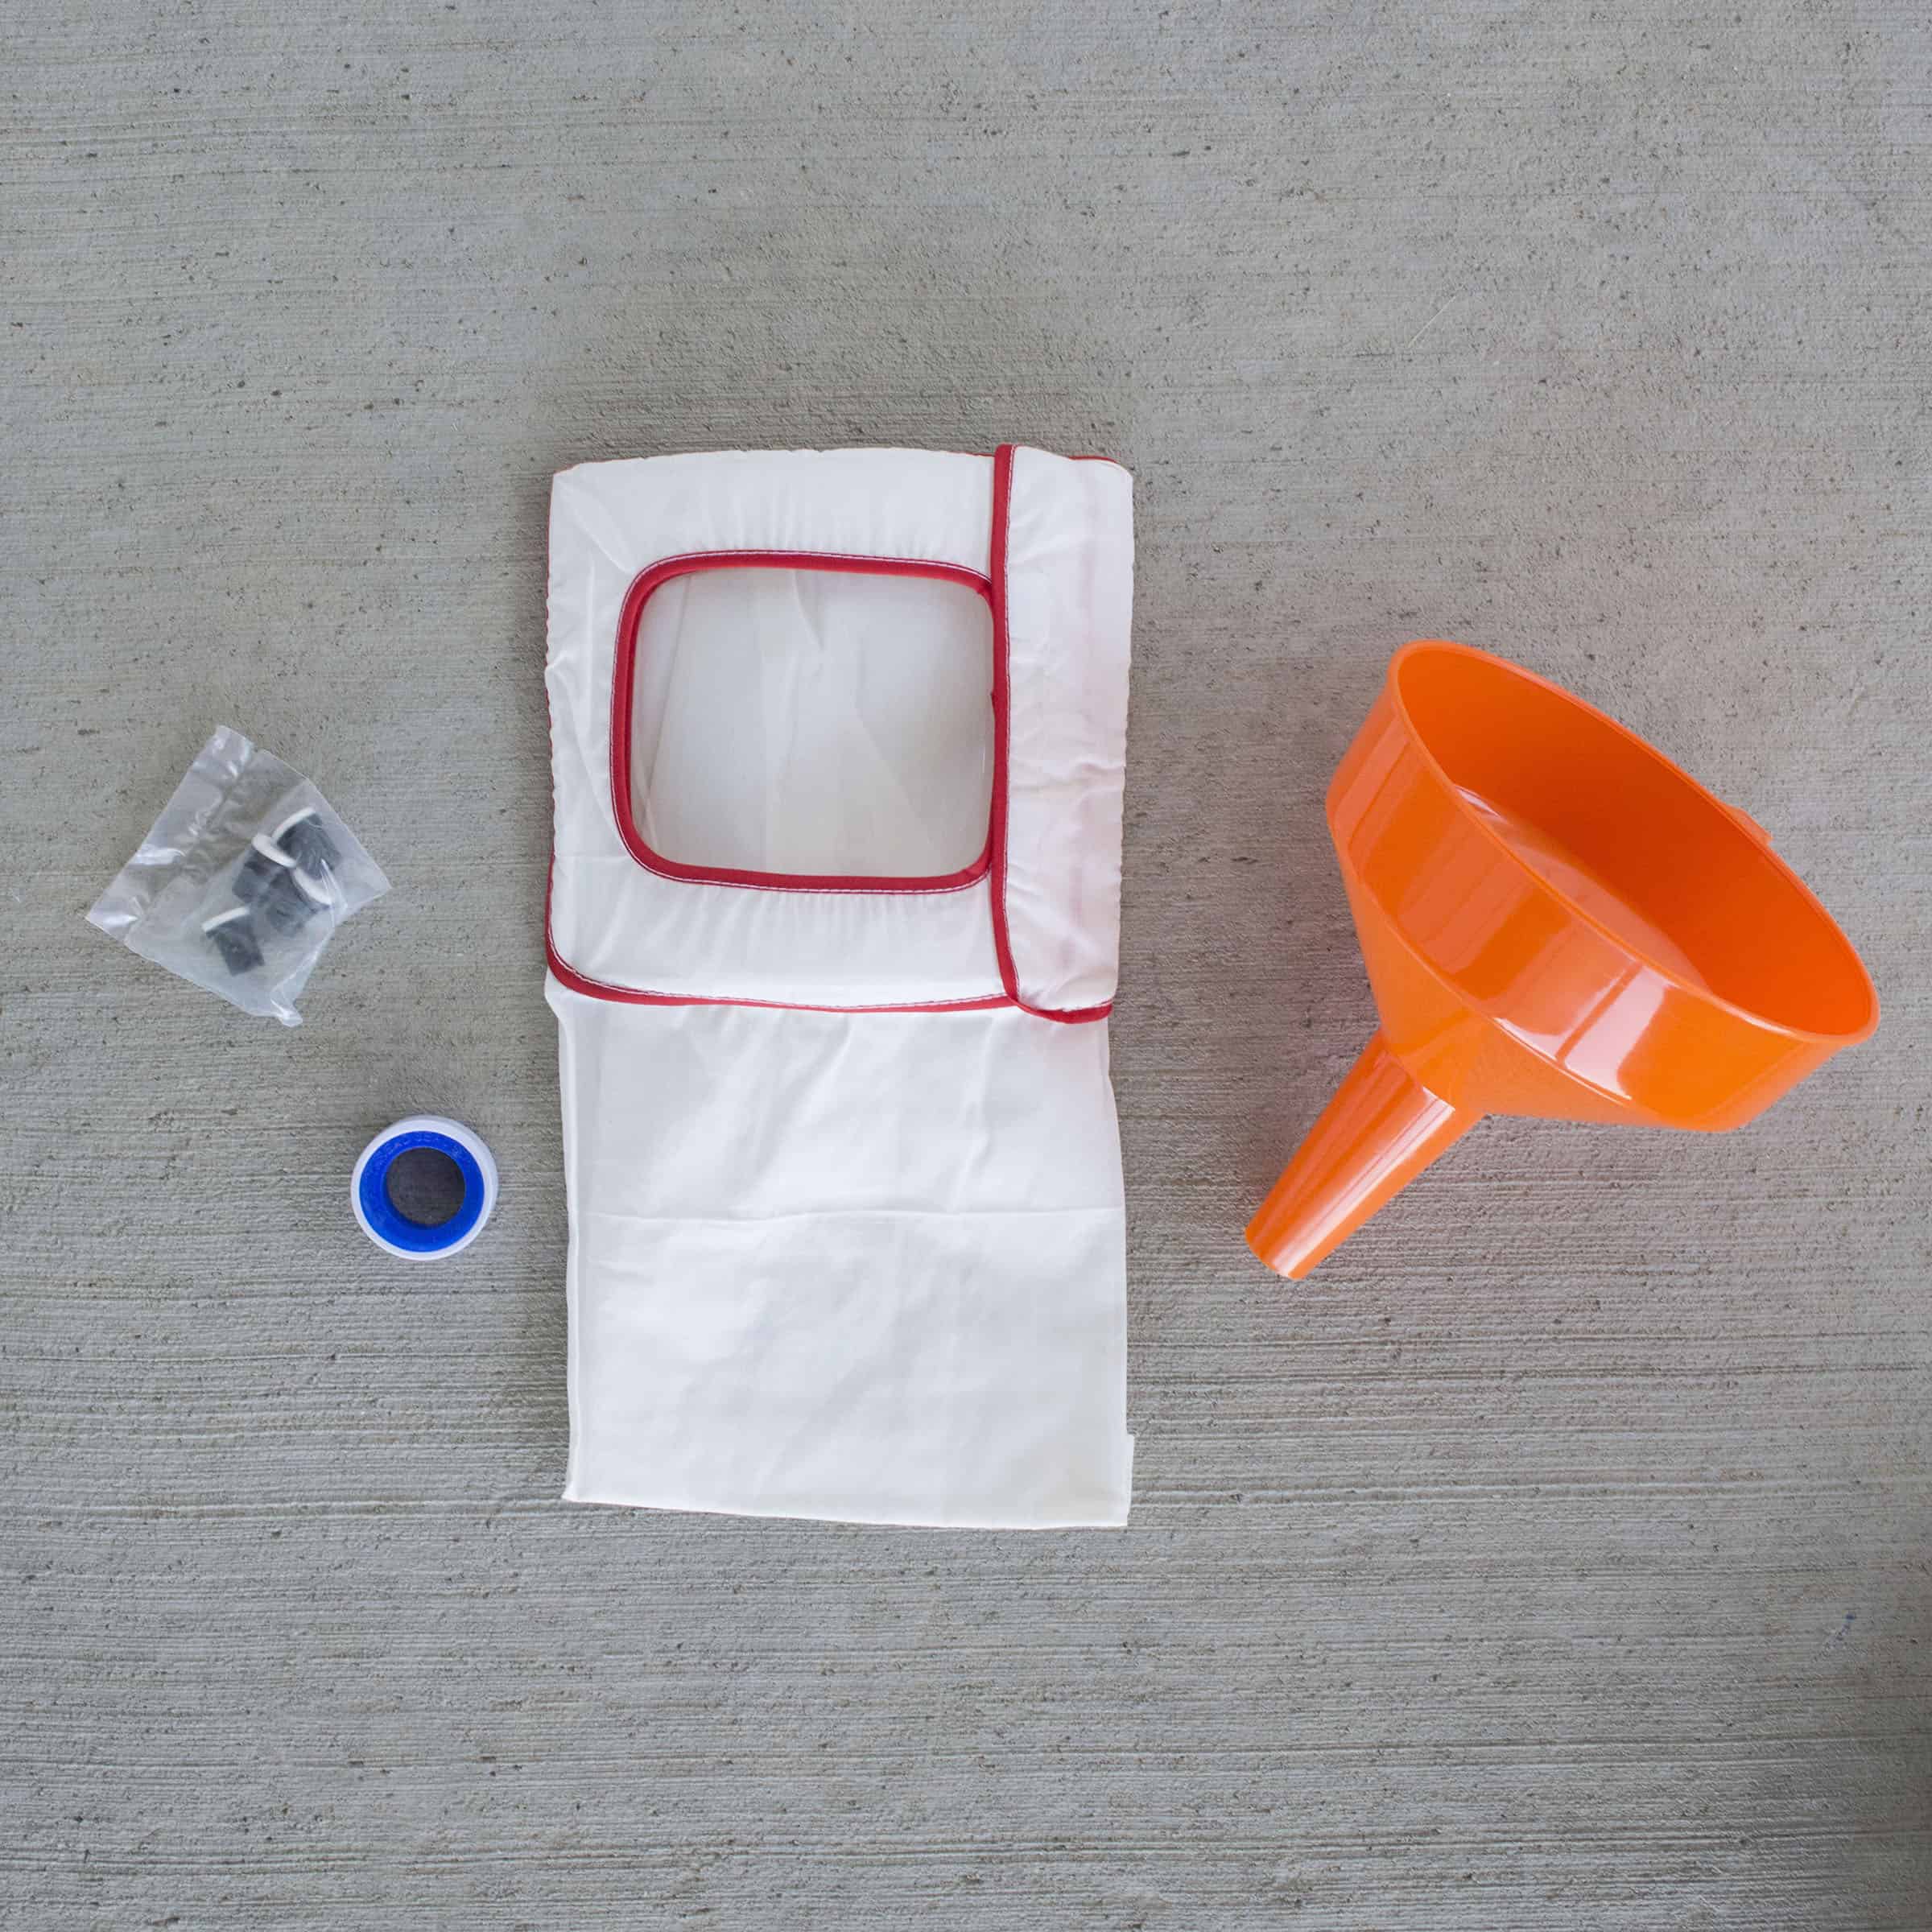
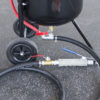
The 50 lbs Abrasive Blaster features a 50 lbs tank capacity with shut-off valve. In effect, the box includes everything I need to get started. I connect to a compressor, put on safety gear and fill with abrasive sand.
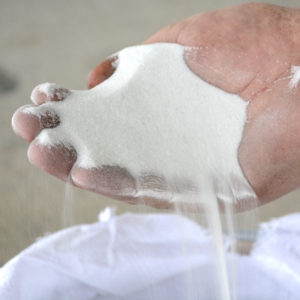
An abrasive blaster is also known as a sandblaster. I use it as a tool for surface preparation, cleaning, and finishing tasks. It propels abrasive material at high speeds. I can remove rust, paint, scale, and other unwanted substances from various surfaces. Here’s a brief description of how I use an abrasive blaster:
- Safety first: I put on protective gear such as goggles, gloves, and a respirator to shield yourself from flying particles and dust inhalation.
- Prepare the work area: I set up my work area by covering nearby objects and ensuring proper ventilation to minimize the spread of abrasive particles.
- Load the abrasive material: Fill the abrasive blaster’s hopper or container with the appropriate abrasive media, such as sand, glass beads, or garnet, according to the job requirements.
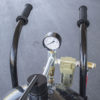
- Adjust the pressure: I set the air pressure on the compressor to the recommended level. Then I consider the type of abrasive material and the surface I am working on.
- Position the nozzle: I hold the abrasive blaster’s nozzle at a consistent distance from the surface. Typically I hold it around 6-12 inches, and at an angle that provides optimal coverage.
- Next, I engage the blaster. I will activate the blaster by pulling the trigger or opening the flow valve. Given that, it allows a steady stream of abrasive particles to be propelled onto the surface.
- Then I move steadily. I learned this the hard way. First, I need to maintain a smooth and even motion. As a result, I sweep the blaster across the surface to ensure uniform cleaning or stripping.
- Inspect the progress: Periodically, I stop and assess the surface to determine if it has achieved the desired level.
- Finally, when the job is finished, I turn off the blaster. After that, I begin the process of cleaning up my work area, and collecting any used abrasive material for disposal.
In addition, I follow instructions included in the box. Overall, I know it will have detailed guidance on operation and maintenance.
Item # SB10G
Only logged in customers who have purchased this product may leave a review.
You may also like…
-
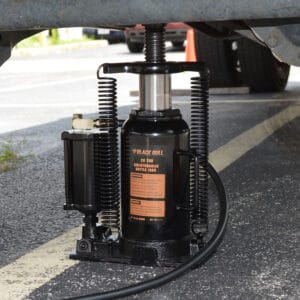
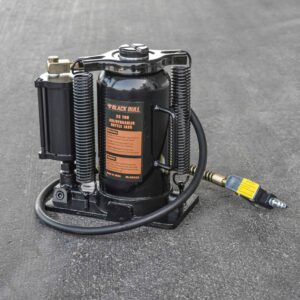
Black Bull

20 Ton Air Hydraulic Bottle Jack with Manual Hand Pump – Black Bull
Add to cart$119.99 -
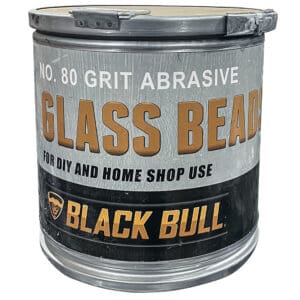
Black Bull
80 Grit Abrasive Glass Beads – Black Bull
In Stock Soon$99.99 -
Pro-Series
6 ft Rolling Scaffolding – Pro-Series
In Stock Soon$249.99 -
Black Bull
100 lbs Tank Abrasive Blaster – Black Bull
Add to cart$187.24


Related products
-
Black Bull
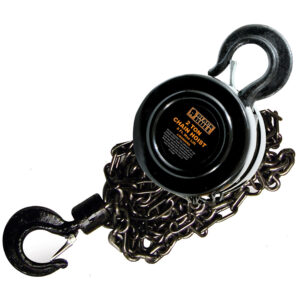
2 Ton Heavy Duty Chain Hoist – Black Bull
Add to cart$69.99 -
Black Bull
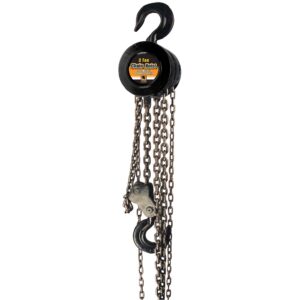
3 Ton Heavy Duty Chain Hoist – Black Bull
Add to cart$89.99 -
Black Bull
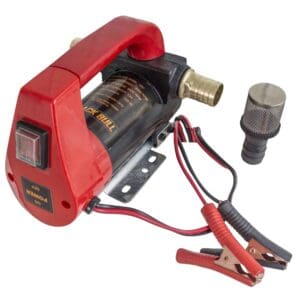
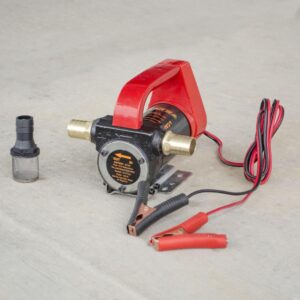
10 GPH High Flow Rate 12 Volt Portable 155 Watts Diesel Oil Pump – Black Bull
Add to cart$49.99 -
Black Bull
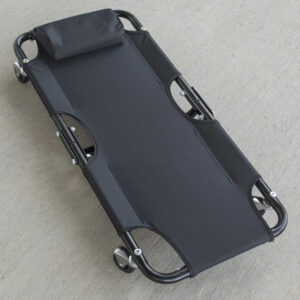
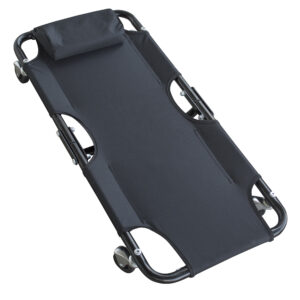
Folding 36 Inch Canvas Creeper – Black Bull
Add to cart$49.99


Reviews
There are no reviews yet.